Everything you need and more
Installation Methods

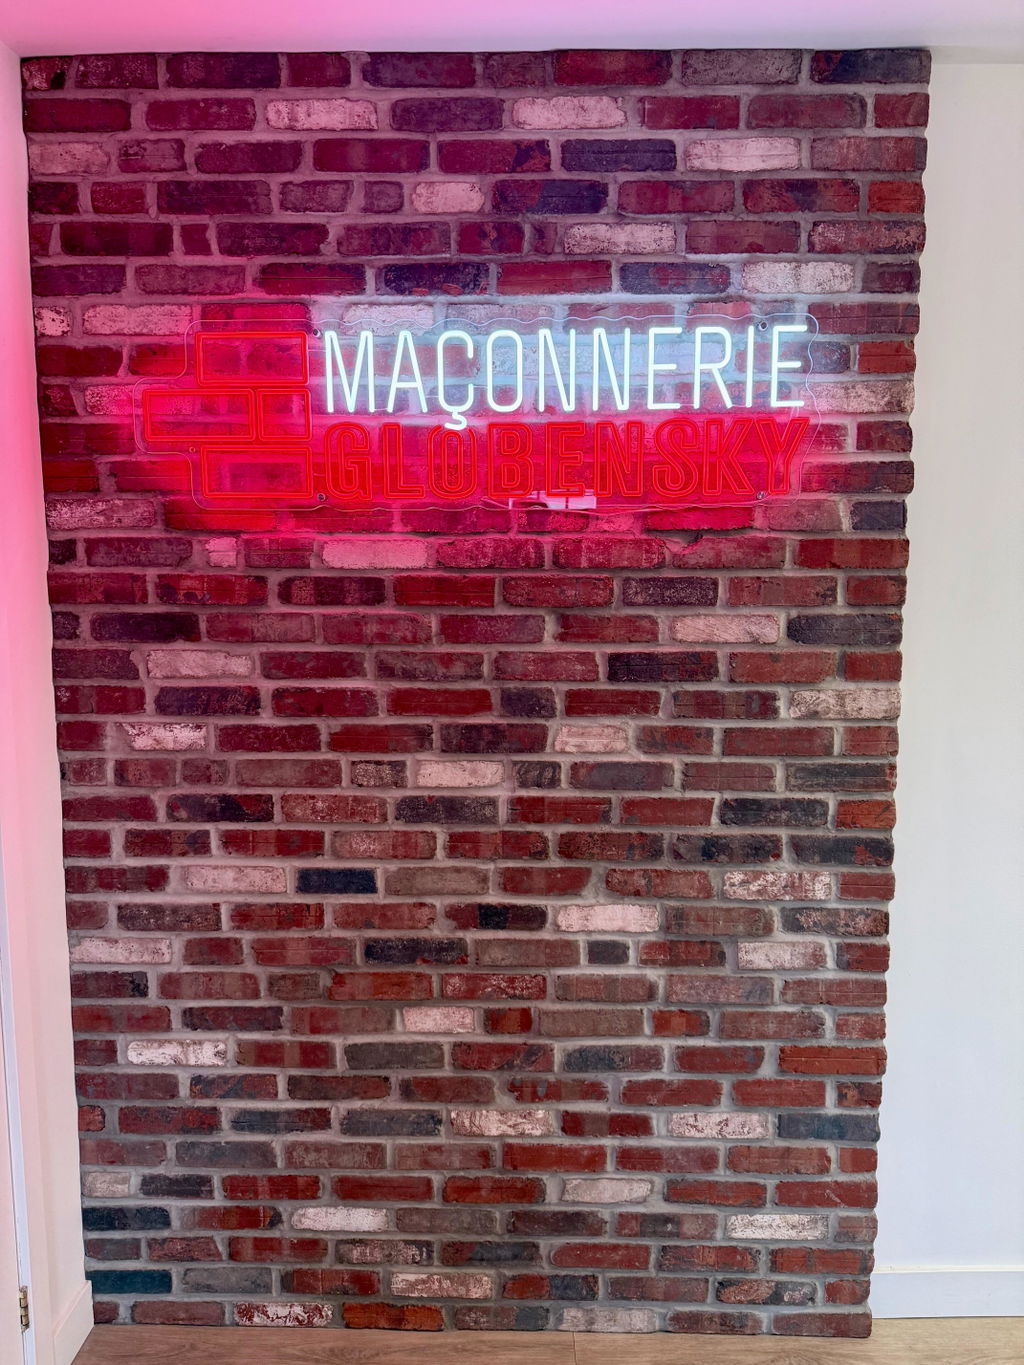
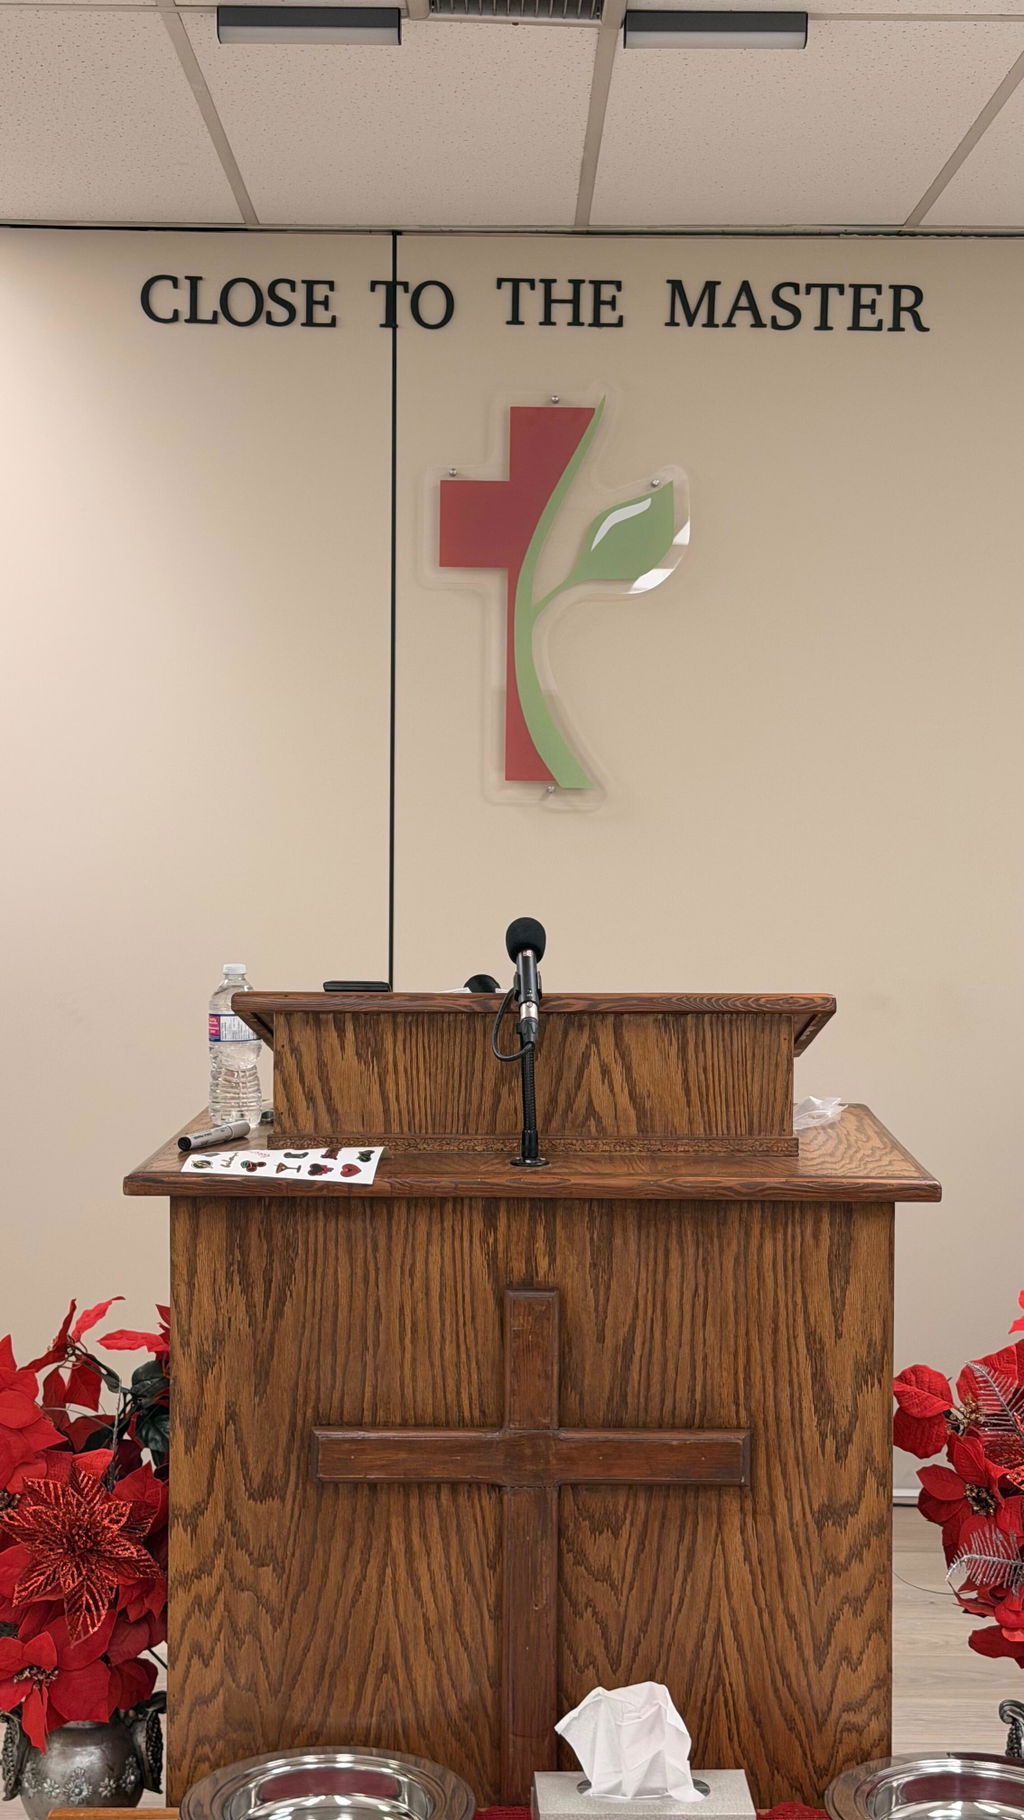
Use the pre-drilled holes on the sign to mark positions on the wall. Drill screws into the marked spots and secure the sign firmly with stand-offs for stable installation.
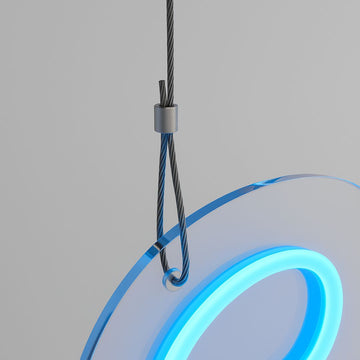
Attach the provided cables through the sign’s pre-drilled holes. Secure the cables to your desired hanging surface (e.g., ceiling), ensuring stability and proper alignment.
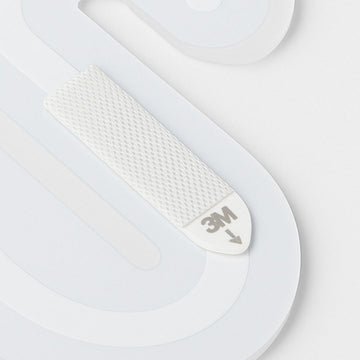
Apply adhesive strips (purchased separately) to the back of the sign. Press firmly onto a clean, smooth surface for proper adhesion. Ensure the surface is dry and dust-free.